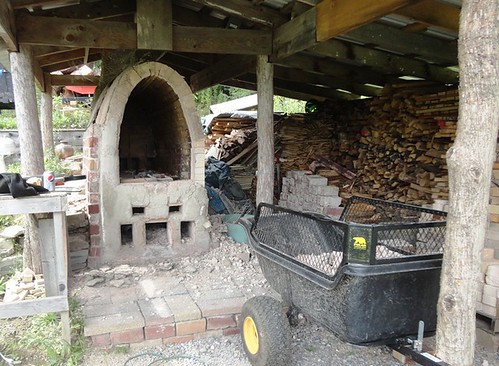
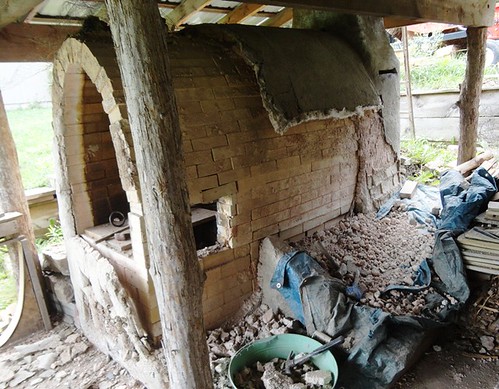
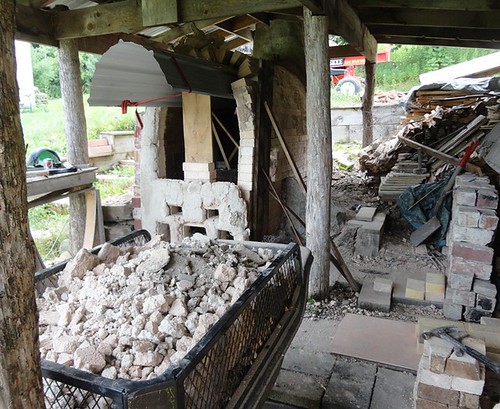
I've been plugging away at the kiln site. I have had to stop to get more bricks, silica sand and Hawthorn 40 fire clay for the mortar, etc. I do have some pictures of the latest progress I've made.
Gate
from above. There will be removable grate bars for the whole door width
front to back, I have the just the front half removed here. I will be
able to just walk in to load the kiln.

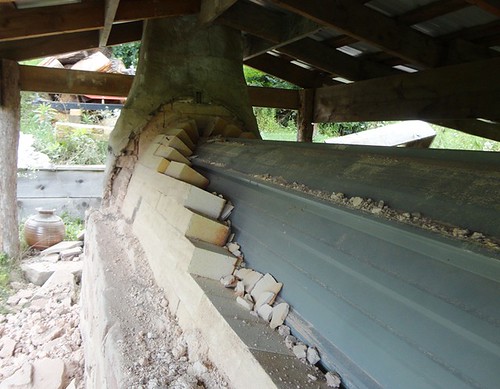
Door arch is done.

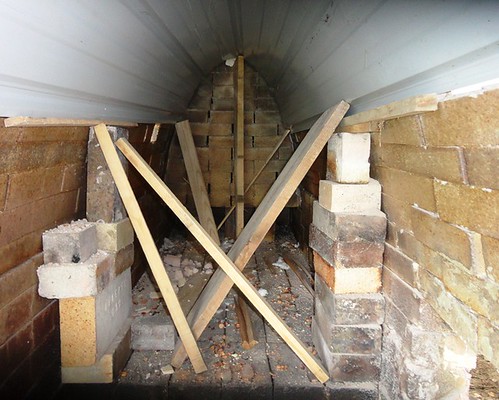
First support...

Support frame ready for lath.

Lath on and wall started.


Fire box door frame with pavers.

Door
arch and chamber arch in place. I'll cut and fill the gaps on each
side, after. Super duty's on the inside and IFB's on the outside.

Walls going up, both sides at the same time. I've got angles to the pavers for iron framing to grab on. I have approx. a 5/8" gap between the wall and the chimney filled
with Kaowool to allow for the expansion of the bricks.

You can see how high the back top of the old chamber was. With this taper, I will keep the back hot with out over firing the front.