Showing posts with label wood firing. Show all posts

Friday, August 31, 2012

KILN REBUILD

I've been plugging away at the kiln site. I have had to stop to get more bricks, silica sand and Hawthorn 40 fire clay for the mortar, etc.  I do have some pictures of the latest progress I've made. 
 Gate from above. There will be removable grate bars for the whole door width front to back, I have the just the front half removed here. I will be able to just walk in to load the kiln.


Door arch is done.


 First support...


 Support frame ready for lath.


Lath on and wall started.


Fire box door frame with pavers.


 Door arch and chamber arch in place. I'll cut and fill the gaps on each side, after. Super duty's on the inside and IFB's on the outside.


 Walls going up, both sides at the same time. I've got angles to the pavers for iron framing to grab on. I have approx. a 5/8" gap between the wall and the chimney filled with Kaowool to allow for the expansion of the bricks.


You can see how high the back top of the old chamber was. With this taper, I will keep the back hot with out over firing the front. 


Sunday, August 19, 2012

More progress on the kiln rebuild...

I have more done on the enlargement and reshaping of my manabigama. I had all the excavating done and was ready for stone dust base to put my concrete blocks on.  I took my time and got them all leveled up and ready for the expanded steel mesh or lath as some masons call it.                      


Now I started the layout, in brick as I had everything done on paper, making room for my shelves and the firebox. I made the necessary adjustments and it's looking good.  I moved the level for the grates up one brick as I know it's good to leave enough room for lots of glistening embers without choking the primary air intakes.


Now i can get the brick saw and make up some special mix mortar consisting of 50% fireclay and 50% grog. I'll make it the consistancy of peanut butter for troweling and like a milkshake for dipping. It will setup nicely when we fire. No Portland cement on the inside of the kiln though. I will add 10% to the outside's insulating coating (as a binder) of the course sawdust, fire clay, vermiculite and sand mix.  I will also use chicken wire to hold the insulation together as it will crack. 


I will remove the placed bricks and "mortar" them in place. This was a "dry run" to make adjustments where needed and get the layout right.

Saturday, March 12, 2011

BAMBI (OR BAMBETTE) RETURNS... (THE STORY VERSION)


Quite a while ago, I had a picture of this fawn on my blog, bedded in the thicket next to my house. I have thought of the encounter often. So..."What about it??" you say... well here's my story. Once upon a time, I built a wood-kiln. Not a huge one, but one I could fire by myself.  I have been spending all of my "clay time" making pottery to fill this kiln so I can learn how to fire a wood-kiln. I now have fifteen firings under my belt and I feel pretty confident that I have a good grasp on it. I have to admit that I didn't spend as much time on some of the work as I would have liked to, but I didn't want to waste "clay time" on a poor firing. Understandable. I remember not being able to get past cone nine until after my third firing. I can now get to twelve in no time... I actually hold the kiln back now for the results I want. So, what does this have to do with the fawn!!?? Talk about dragging it on and on ... So, now that I am confident with the kiln, I have been putting more time into the pieces. I was a sculpture minor in college and have missed sculpting and now I have been doing more sculptural pieces for the next firing. I have sculpted objects on top of pottery, sculptures all by themselves and I just finished a serving dish with a fawn bedded inbetween the logs on top of it. I am working with a fettling knife in the first picture, carving details in a log.


I want the end of the log to look old and weathered...


And have the bark peeling away... and a good shape for a handle.


Add a few shale/limestone rocks like there is poking though the forest floor up in my woods...
A bed of leaves to keep dry on... Bambi has returned, just in clay form.


I also made some casseroles with a simpler fawn, this particular one is a mule deer fawn...


So... looks like I'm starting to get my sculpture "fix" now, and it looks like the snow is melting some.  I've had enough winter. There was three feet of snow out there just one week ago! Closed all the schools in the area.


Guess what I was doing? ... besides the driveway...


Looking forward to firing soon. I have enough for a kiln full now, just need to melt some snow.
And, I have some more teapots, couple with the birds I've been seeing at the feeder every day...


THE END

Saturday, February 12, 2011

STONE QUARRY HILL ART PARK - WINTERFEST 2011, WOOD-FIRED RAKU

We had the Syracuse Ceramic Guild's Winterfest-ivities today. Folks from all over Central New York came to Stone Quarry Hill Art Park in Cazenovia, N.Y. for a day of snow filled activities. There was lots of sledding down the big hill that the Art Park sits on. Inside the barn was hot chocolate, coffee, snacks, etc. and Denise and Sheila helping visitors with the un-frozen raku glazes.
There was a core crew of four of us, braving the blustery cold winds to fire our almost new, wood-fired raku kiln. "Double D" Dave, Dave "L" and me on the right, are prepping for the start while Sabrina took a minute to help prepare things inside. Wood splitting, unthawing and pre-heating the bricks took a bit of time to do.


Here's "Double D" Dave ('cause his last name starts with D and the other Dave's last name starts with L) splitting some wood in anticipation of the high temps we needed later. We fired to approximately 1850* F


Here's two of the kids glazing, I think the lens fogged up coming in out of the cold, as a few more rest in the background, and when the pots come out, we preheat them a couple of minutes to finish drying them, as they're freshly glazed pots.


Now the firing takes about fifteen minutes to get to temp, then I remove the door, we take the still glowing, orange - hot pots out with long tongs and place them in a trash can that has a few inches wood shavings in it, throw a big hand full of shavings on top of the pots and then Sabrina quickly pops the lid on while the shavings are still burning to create a smoke filled can. The glazes are molten at this time and will be affected by the changes in the atmosphere. We are reducing the amount of oxygen (why we call it "reduction") and increasing the amount of carbon particles, which in turn affects the looks of the clay and glazes (creating surface lusters, crystals and keeping copper and iron from returning to it's oxidized state which would change the color dramatically).


Maybe I should have titled this post " A Raku Tutorial - Winterfest Edition "

Sunday, May 23, 2010

Campfire / Forest Fire Thing ... Part III

The Winners of the giveaways are:  Dawn for the mug and mywifesstudio for the yunomi. Congrats to them and I hope everyone had fun.  Contact me at williperri@aol.com with your name and address and I'll ship them out to you!  :-]


Now for some close ups...


 It was a nice firing and a great time... they came back to pick theirs up on Saturday Morning. Everyone was real pleased with the results! We will have them back next year, same time.

Thursday, May 20, 2010

The Campfire / Forest Fire Thing, Part II

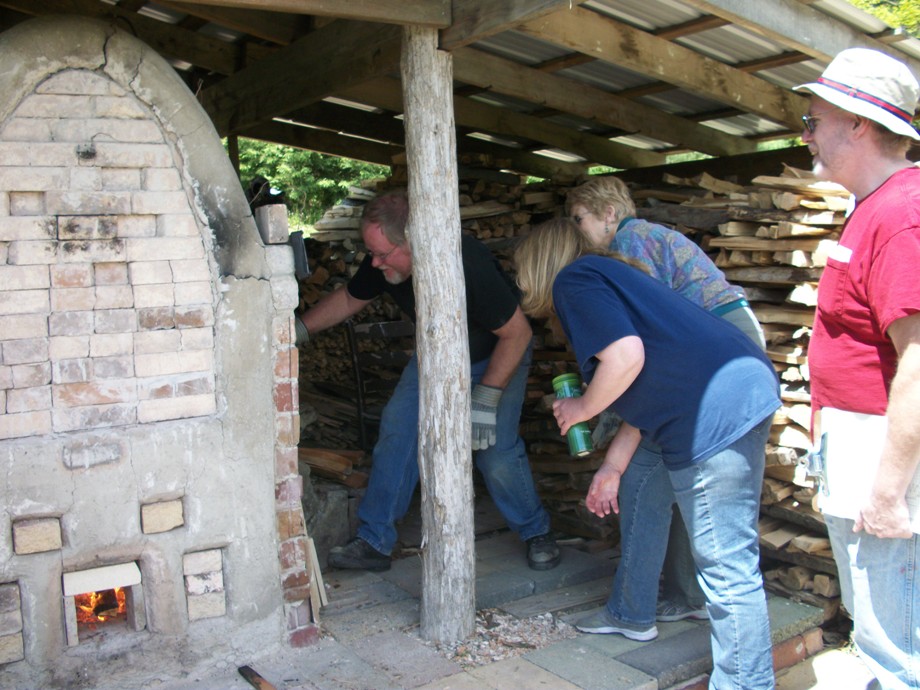
Back to the wood-fire workshop posting. A view of the rest of the great weekend we had. We finished bricking up the door, using my trimmings that hit the floor for mortar.


A view of the pre-fire kiln ...

Because we glazed the day before and loaded "right after", I candled the morning of the firing starting at 6 am for about 3 1/2 hours to gentlly finish drying the ware.


A little bit of stoking... and stoking... and stoking...


And a view of the finished pieces...


One of the many beautiful pieces...


A happy crew...


Friday, April 23, 2010

KILN'S DONE...


I'm tired but I wanted to share some pictures from the firing. I can't wait 'till Sunday. I got a soft 12 in front and 10 almost flat in the back. Only about a cone difference front to back, gettin' better. Top to bottom is even. I'ma likin' this kiln...